This tutorial requires the following downloads:
Looking to get a head start on your next software interview? Pickup a copy of the best book to prepare: Cracking The Coding Interview!
- Oracle VM VirtualBox (available for download here: https://www.virtualbox.org/wiki/Downloads)
- A Linux .iso file (I use 64 bit Linux Mint, available here: https://www.linuxmint.com/download.php)
It is useful for any developer to have a Linux development environment if they have a windows machine. The access to the shell and assorted package managers available for various Linux distributions makes development significantly easier on Linux. We can set up Linux inside of our Windows machine using a Virtual Machine, which is essentially a computer running inside of our computer, with access to the hardware resources we allow it. In this tutorial, I will set up Linux Mint 18.1
- Launch Virtual Box and click the New
 button. The Name you provide is simply to identify your VM in virtual box. We specify Linux as the Type and for Version select Other Linux (64-bit). Depending on what Linux .iso you have, you will want to pick the appropriate 32 or 64 bit version. I am using the 64 bit version of Linux Mint. If you do not see a 64 bit option, ensure virtualization has been enabled in your BIOS. Click Next.
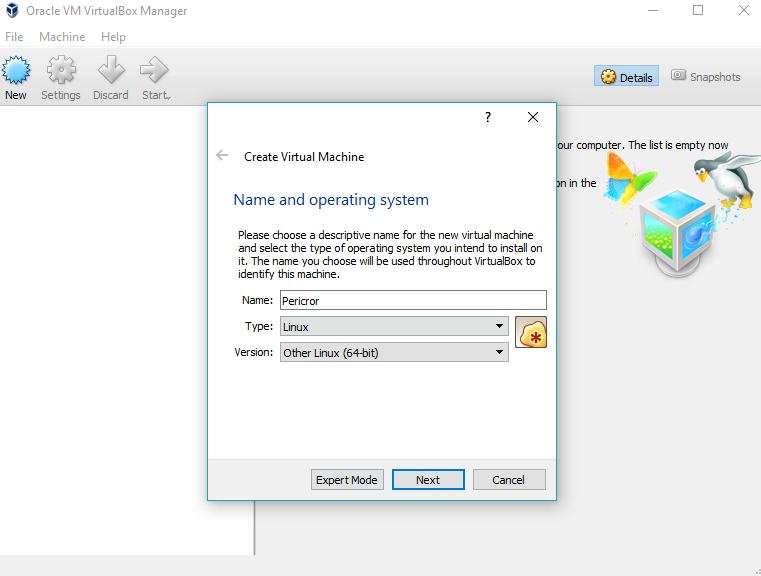
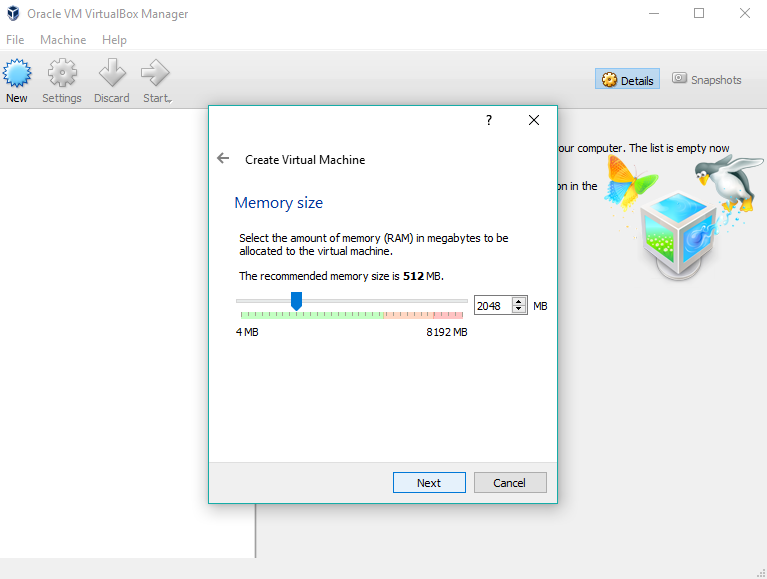
- Select how much RAM you want to allocate to your virtual machine. This is based on personal preference and how many applications you plan on running in your virtual machine, but 512MB should be fine for . Pick a memory size and click Next.
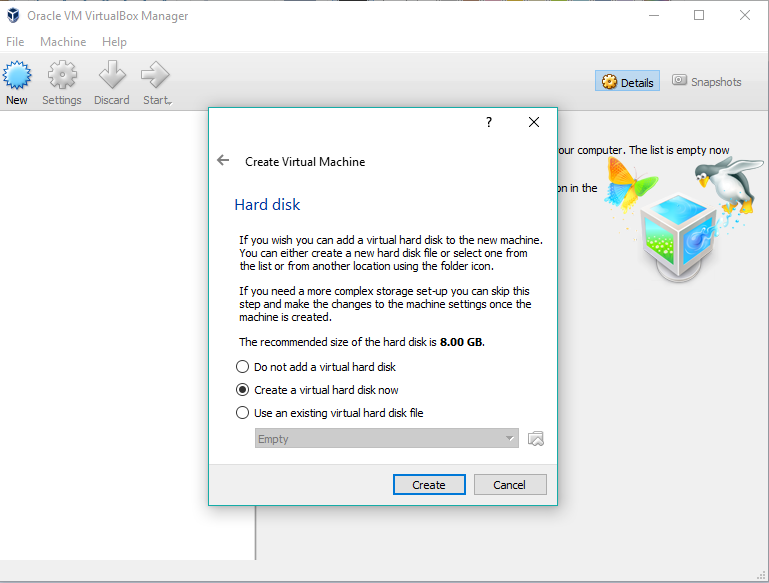
- Create a hard disk for your virtual machine by pressing the Create button. This will create a file that represents the hard disk of your virtual machine, so if you already had a hard disk from a previous Linux virtual machine you could choose to use an existing one.
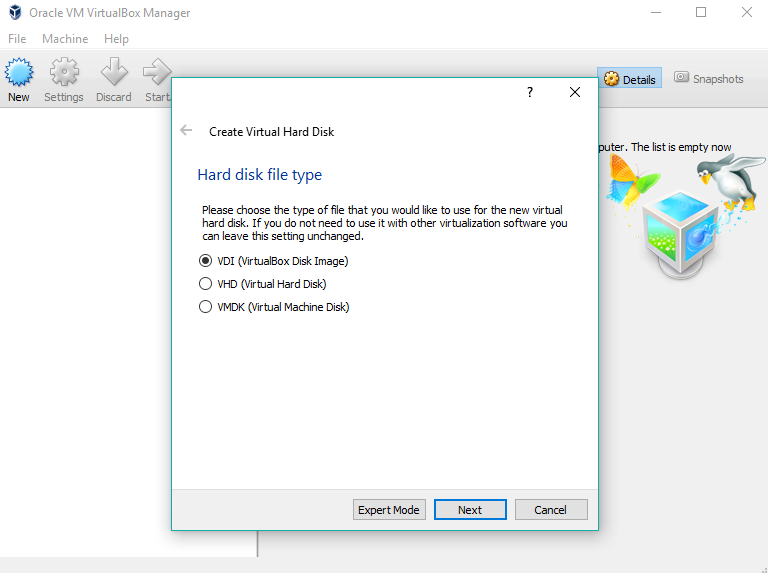
- Next we will select the hard disk file type. For the average user you can just pick the default VDI and click Next, as it is the native format for VirtualBox. You can also easily resize your hard drive if you decide you need more later with a VDI. If you plan on using your VM on VMware (mac), it is suggest you use VMDK, while VHD is used by Microsoft VirtualPC.
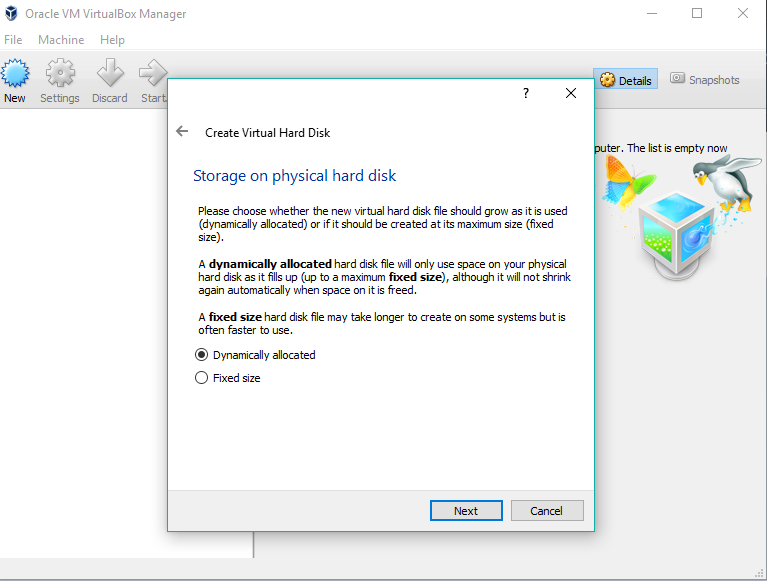
- Next we will determine how our VM’s virtual hard disk is stored on our disk. I prefer to keep it Dynamically allocated so that my host machine’s hard drive does not reserve unused memory for my VM. Click Next.
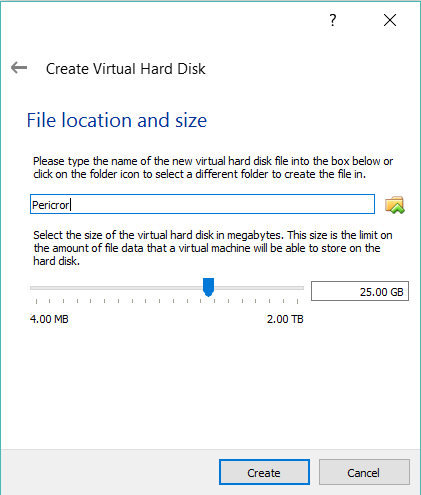
- Pick the size of your hard drive, and if you had previously chosen a Dynamically allocated hard disk, don’t worry about allocating a lot of memory, as it won’t actually be used by the virtual machine until you need it. Click Create and your virtual machine will be ready to configure.
- With the virtual machine created, we can begin setting it up to run Linux. Click the Settings
 button. Then Click on the Storage tab.
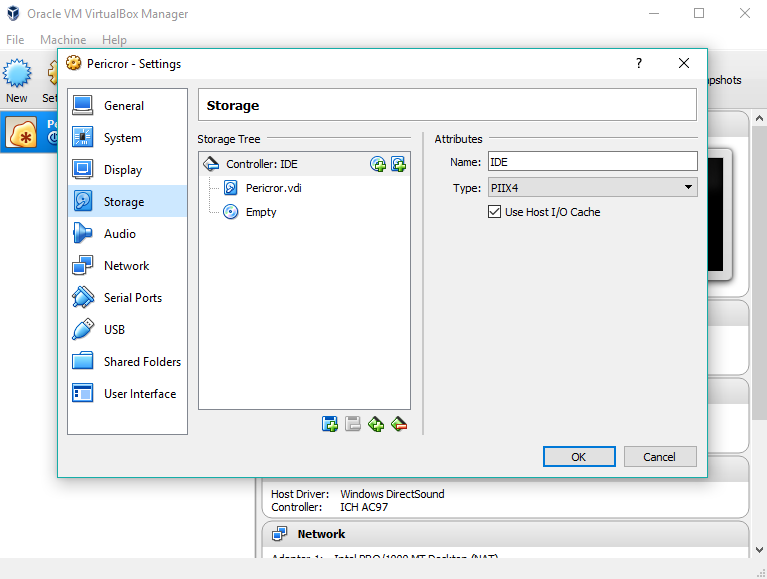
- From the Storage menu click on the empty disk
 and then the cd
  on the right hand side to load the Linux .iso file into the virtual machine’s disk drive. The Live CD/DVD should be checked. This will allow us to boot our VM from the Linux .iso we provided. Click OK.
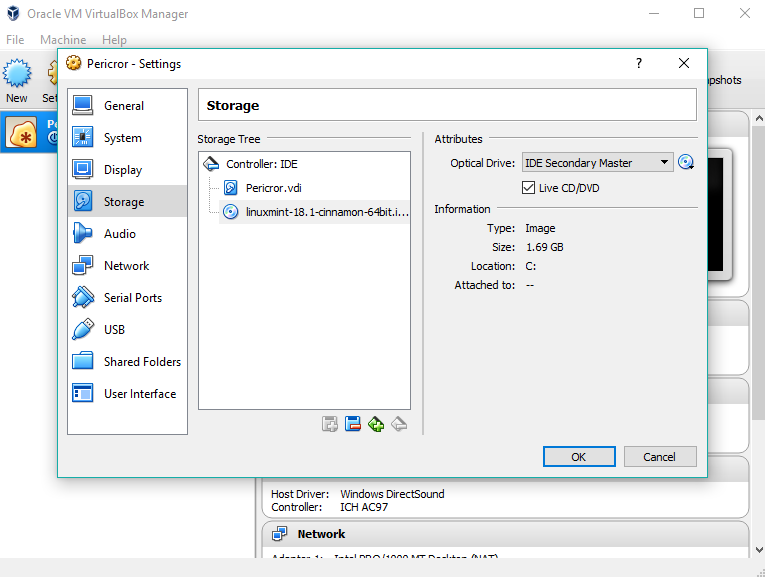
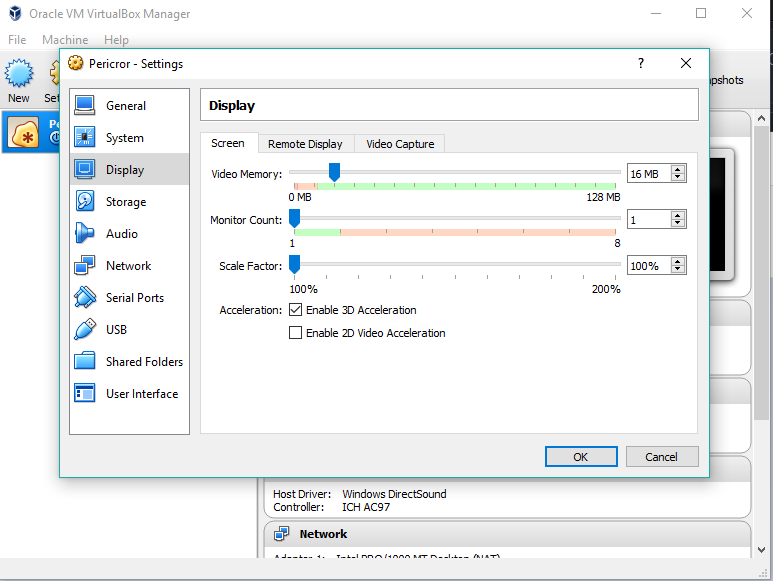
- Click the Display menu and ensure 3D acceleration is checked. Depending on your distribution of Linux, this will be required, as it grants your VM access to your GPU to perform graphical computations. Linux Mint will run in software rendering mode unless 3D acceleration is enabled. For this feature Guest additions will need to be installed, which we cover in step 12.
- We are finally ready to launch our virtual machine! Press the Start
 button to boot the linux VM. After loading, you should be presented with the desktop of the Linux version you chose. There should be an icon on the desktop to install the version you chose, double click Install Linux Mint to start the installation process. During the installation process, it is suggested to choose default configuration options. You should choose the default option to erase the disk with the installation rather than create a new partition, because the virtual machine has been set up to run your chosen version of Linux.
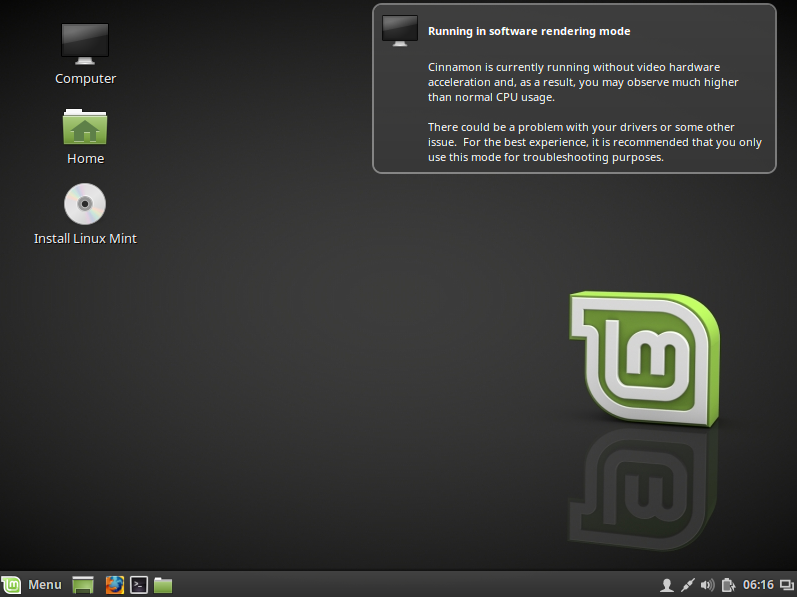
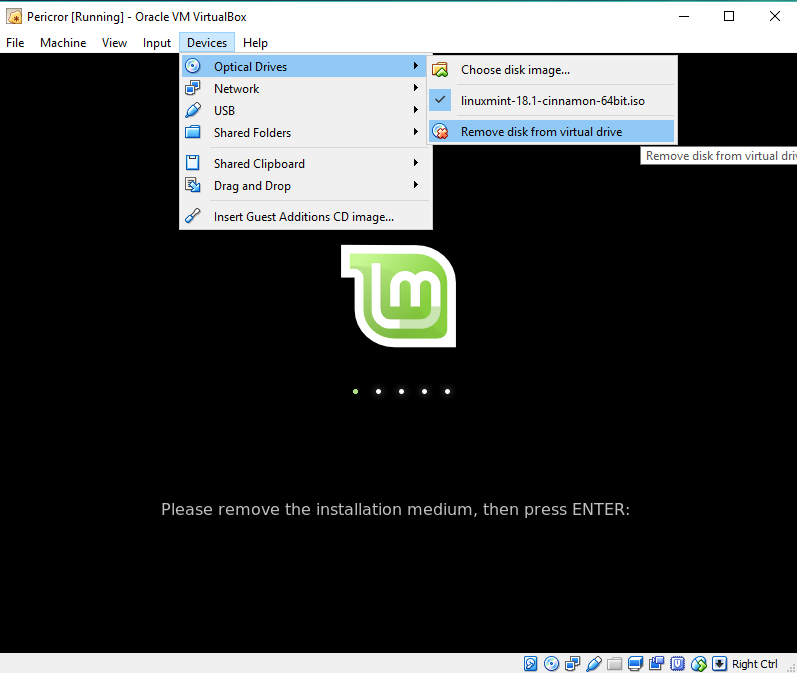
- After installation of the version of Linux you have chosen is complete, restart the virtual machine and eject the cd (.iso) from the virtual machines disk drive. Click Devices->Optical Drive->Remove drisk from virtual drive option from Virtual Box’s menu bar.
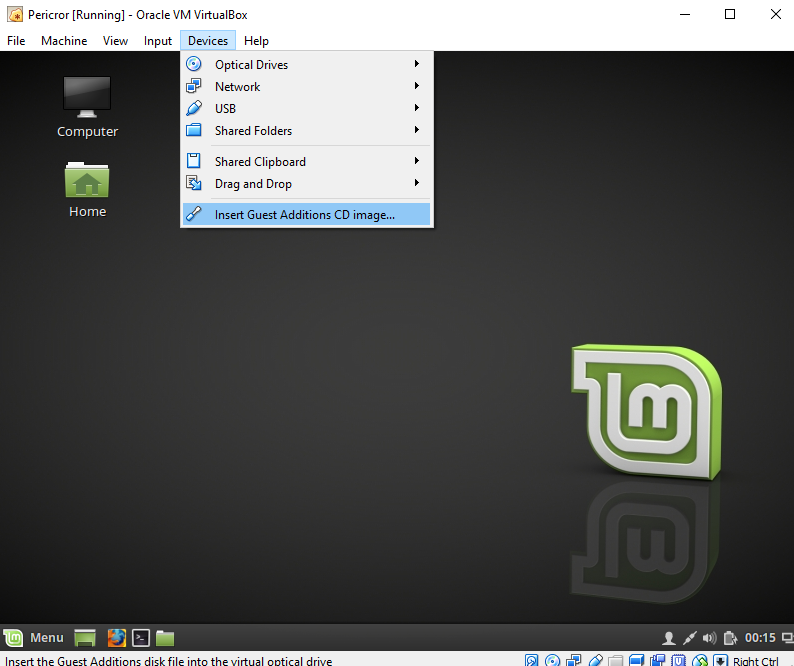
- The last step is to install the guest additions, which is a set of software which contains a lot of built in drivers to let your VM use your host machines resources correctly. Depending on the version of Linux you chose, after installation you should be able to set your virtual machine’s display resolution to match that of your host machine, if you could not already. From the Virtual Box menu, click Devices->Insert Guest Additions CD image. A CD icon will once again appear on your desktop. Double click it to open the CD, and then launch the setup/installer. Once your guest additions finish installing, restart your virtual machine. You should now have your linux environment completely set up!
Elevate your software skills
Ergonomic Mouse |
Custom Keyboard |
SW Architecture |
Clean Code |