
So, you’re interested in setting up zoom video filters to add fun filters to your remote meetings? In this guide, we show you how to use zooms native video filters, as well as the 4 easy steps to unlocking a large variety of custom filters for zoom video by adding the snap camera. With either of these options, you can use filters in your next zoom meeting! The same zoom filter trick (option 2 below) using snap camera can also work with Microsoft Teams to add video filters to remote meetings!
Option 1: Setting up Basic Video Filters (no downloads required)
If you don’t want custom filters and just want a few basic options available in a few clicks, then, Zoom also came out with a native filter feature which you can use instead. The native filters, while less options, provide a recommended approach for enterprise employees where security is greater concern and external app downloads are discouraged. Here are the simple steps for using the native zoom video filters.
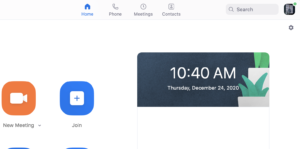
- The first step is to access the background & filters tab from zoom settings. To head to your zoom settings, click into the preferences option from the zoom application in your task bar, OR you can press the settings cog icon from the zoom client window, which is in the upper right under your profile photo.

- Open the Background & Filters tab on the zoom settings, then choose the Video Filters sub tab. Here, you will be able to select from a range of predefined filters. If you want to see hundreds of more filters and stand out from your other meeting participants, we advise you check out the Option 2 for setting up custom filters lower in the post.
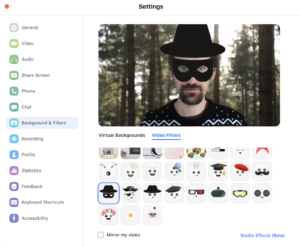
- As a bonus, you may find that you see you have a “Studio Effects” option available. This option lets you adjust facial features like eyebrows, moustache & beard, and lip color, which makes for more subtle and realistic zoom video filters.

- If you’re already on a call, you can use the “Choose Video Filter” as a option under the virtual background option of your camera settings to change or pick your zoom filter.

Option 2: Custom Video Filters (Download Required)
So, you want to know how to add custom filters for zoom video feed. You may have read about how you can add background images and videos, and your familiar with what zoom can do by itself, but how do you add more custom filters for zoom video?
The answer for custom filters is by adding the snap camera for zoom. In this guide, we show you the 4 easy steps to adding filters to your zoom video by adding the snap camera for zoom.
- Install the snap camera by going to this link. Note: Make sure you don’t violate any company policies around 3rd party software installation!
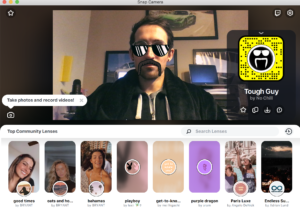
- Open and run the snap camera application. You will need to give it access to your camera and microphone. Once you launch it, it will open your live camera feed and give you a list of filters to search from below. Clicking a filter below will apply it to your video feed.
- Close your zoom application, and re-open it. Then, head to the preferences section.
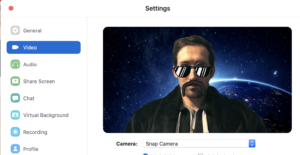
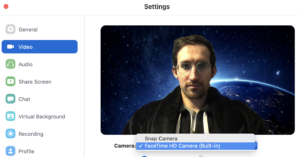
- Head to the Video section of the Settings, and click the camera drop down. From here, select the Snap Camera.
Congratulations! You can now be adding filters to your zoom video by adding the snap camera for zoom.
Consider some ergonomic work essentials (try asking HR to expense!)
Ergonomic Wristpad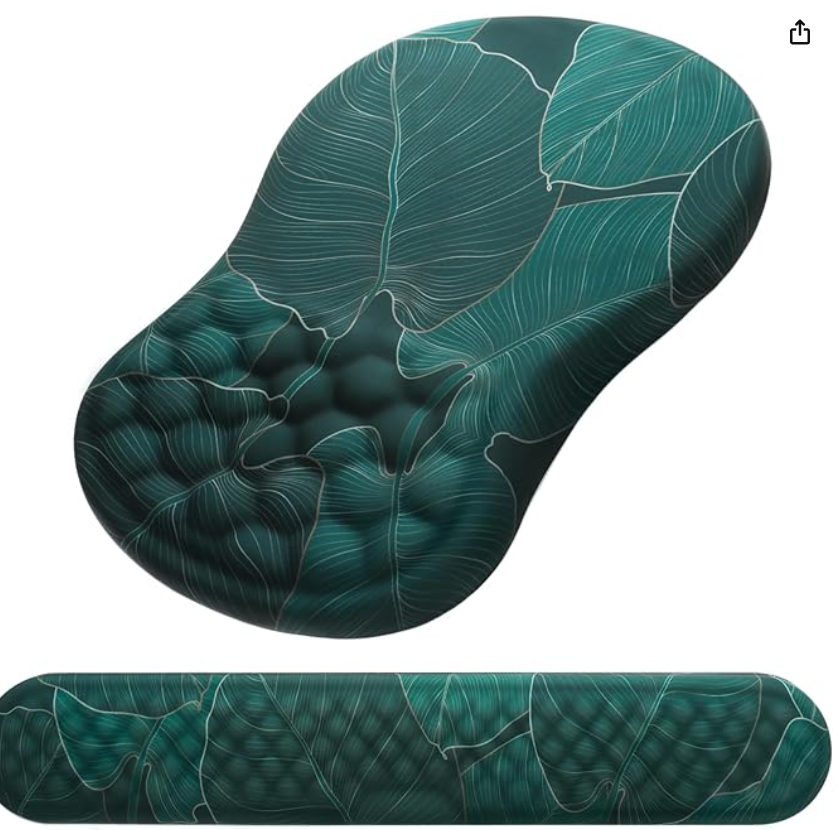 |
Ergonomic Wristpad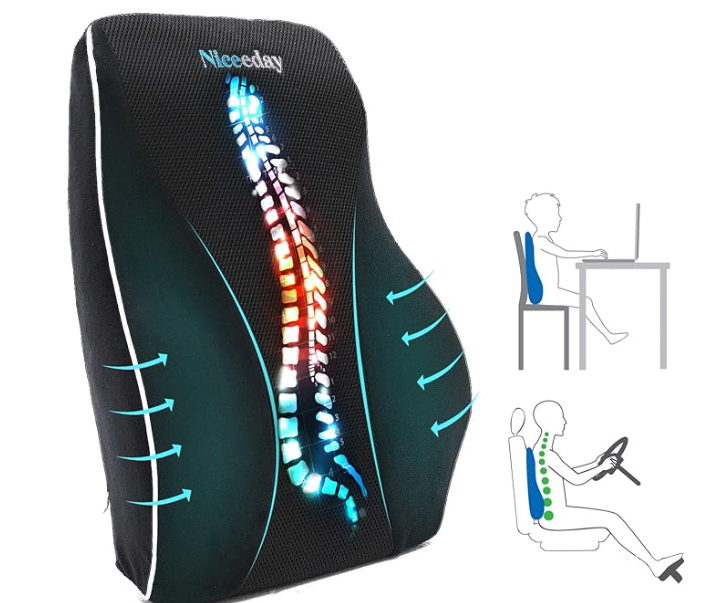 |
Footrest |
Monitor Stand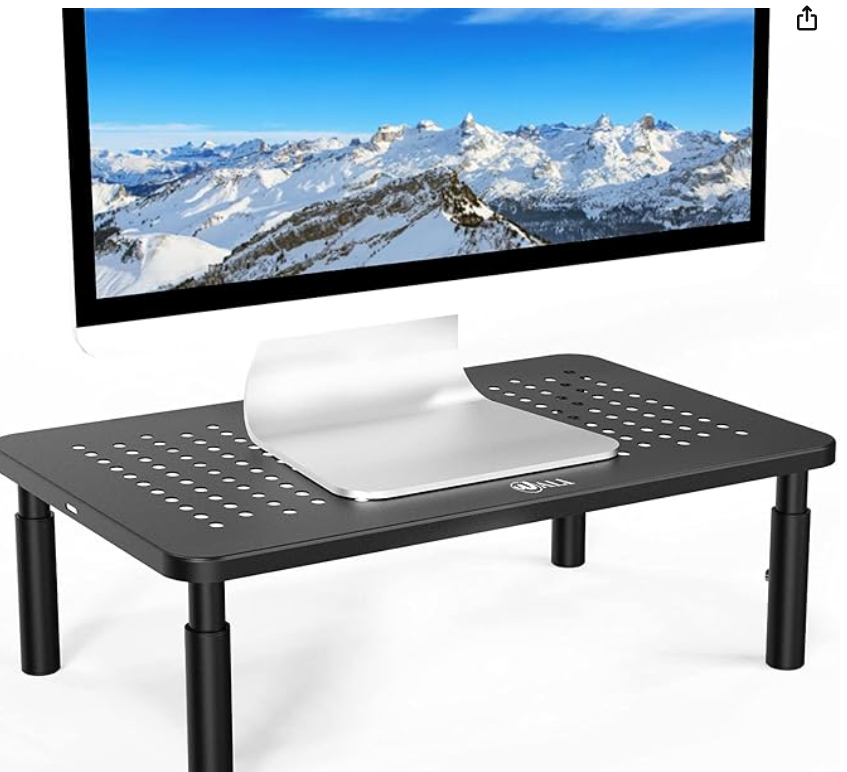 |
Consider some ergonomic work essentials (try asking HR to expense!)
| Ergonomic Wristpad |
Ergonomic Wristpad |
Footrest |
Monitor Stand |


SO GNARly!!